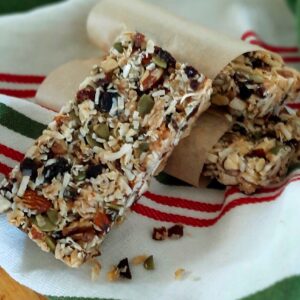
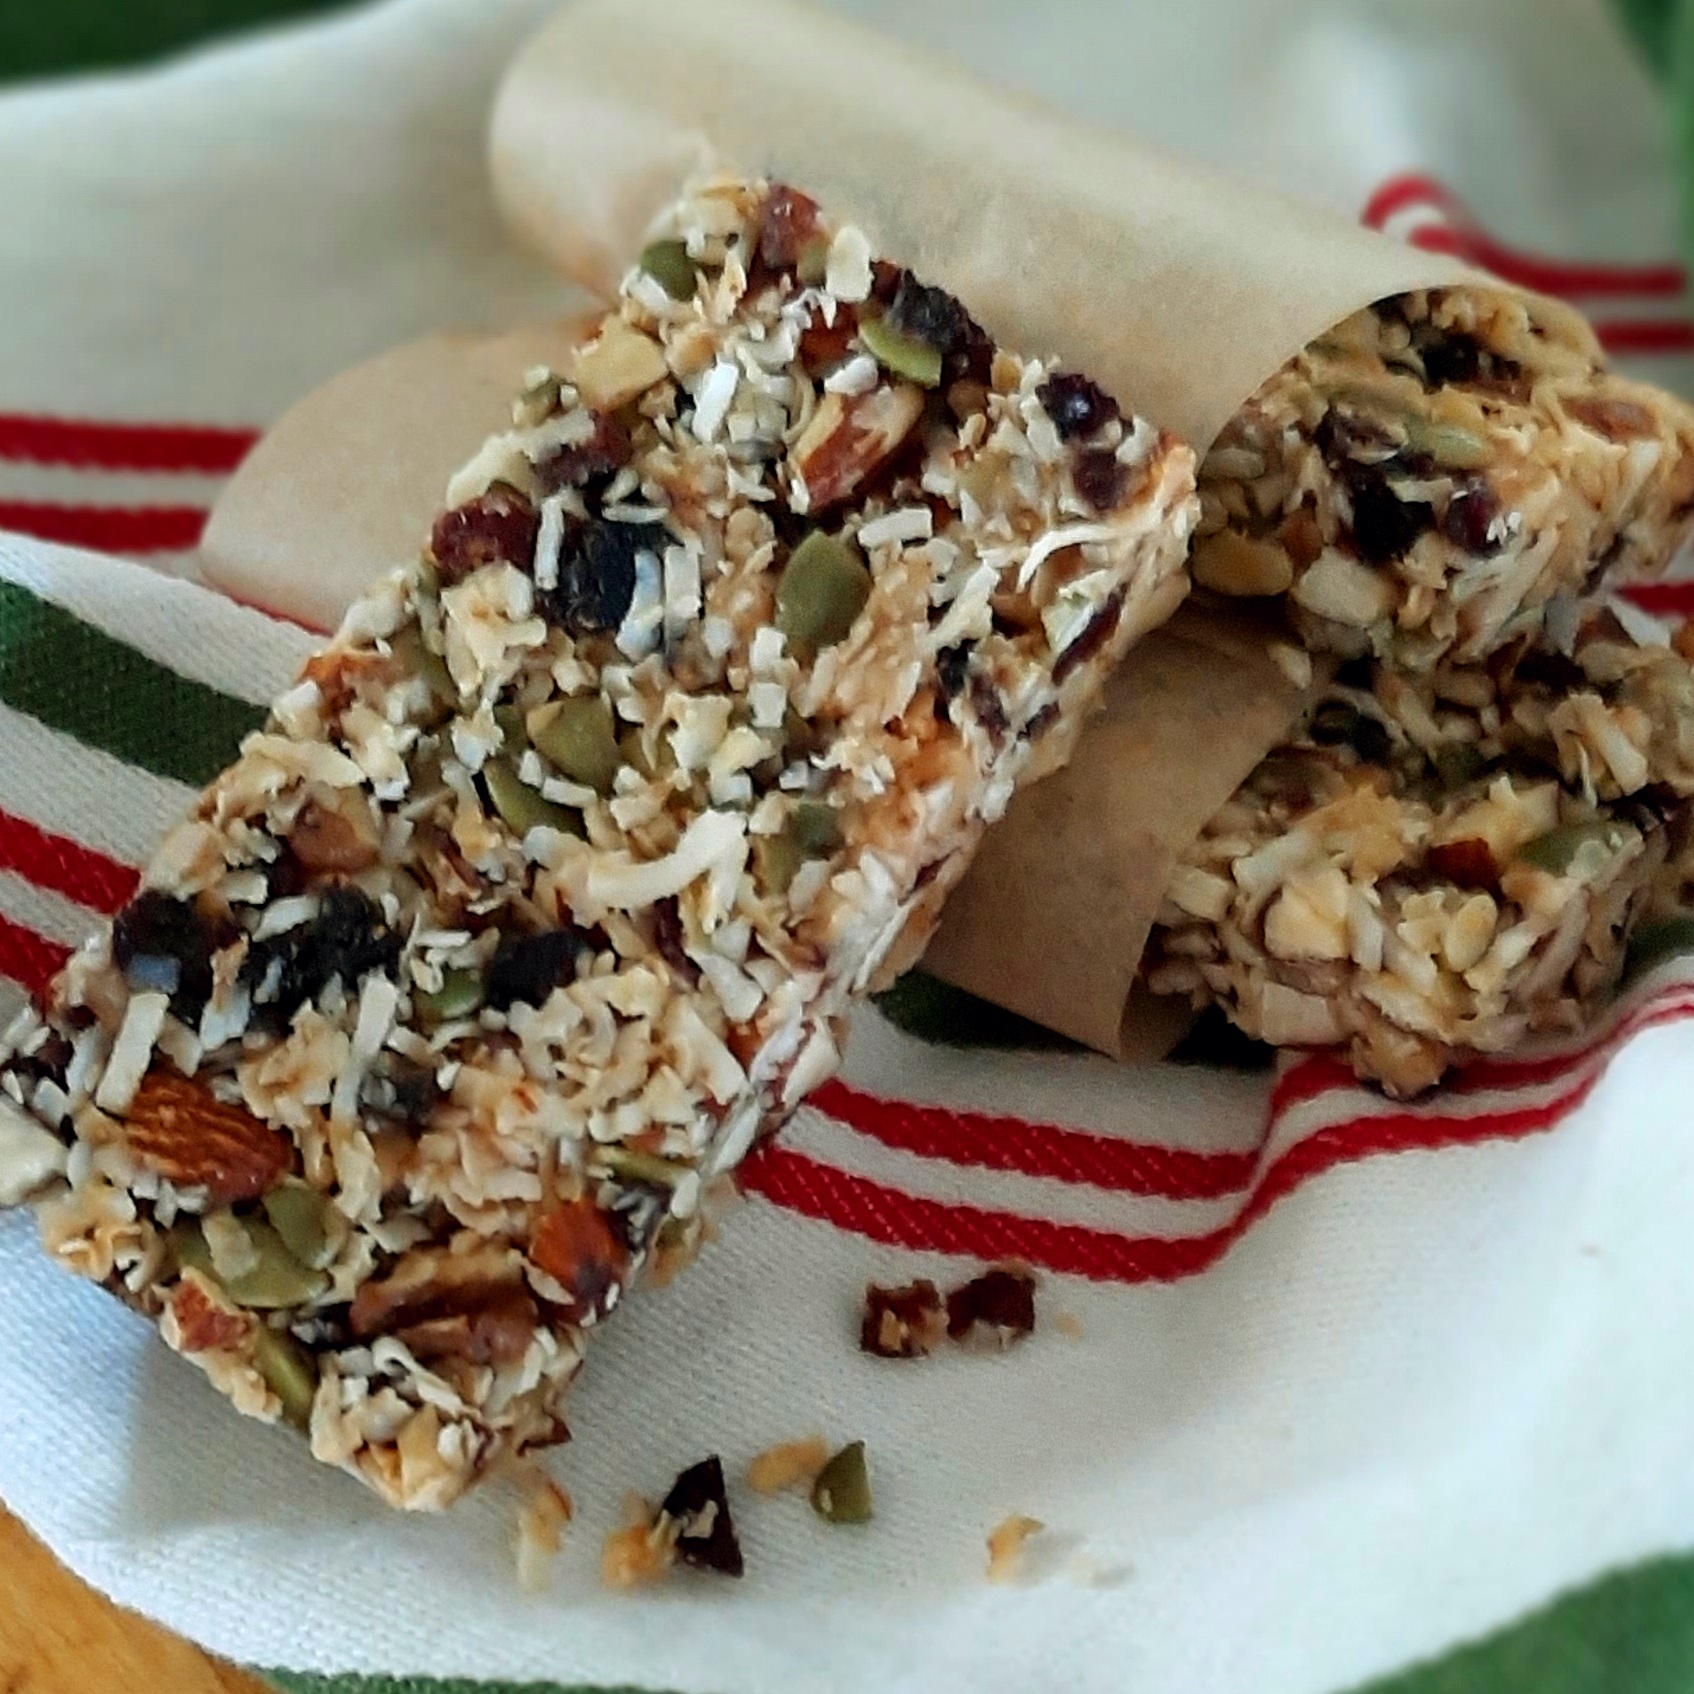
Although I’m not a huge snacker, I do still routinely prepare homemade bars, breads, muffins, or energy bites each week to have something ready to grab if I need it. That’s part of this “healthy lifestyle” game; being prepared. When I don’t get a chance to do this, I stick to easy stuff like veggies + hummus/olives, gluten-free crackers with manchego cheese or nut/seed butters, and fresh fruit with raw nuts/seeds.
I do enjoy KIND bars. I usually stick with the flavors that are under 5 grams of sugar though. They’re great for traveling or quick on the go snacking.
If you’ve read my other posts, you might notice I get intrigued about how I can make things from scratch so that I can control ingredients – not just the quantity, but the quality of them. So, instead of using refined sugar and glucose syrup, I get to choose raw honey to make these bars, which is not only lower in glycemic but also comes with some awesome prebiotic benefits for gut health.
This recipe was inspired by The Nourishing Home, a great blog of gluten-free family recipes I enjoy from time to time. I made my own little tweaks to personalize the bars to my tastes and liking. I hope you enjoy them!

Homemade "KIND" Bars
Ingredients
- 1/3 cup raw or clover honey
- 2 tbsp coconut flour
- 1 tbsp organic, natural peanut butter or almond butter or tahini
- 1/8 tsp sea salt
- 1/2 cup almonds
- 1/3 cup walnuts
- 1/3 cup sunflower seeds
- 1/2 cup dried cranberries or dried cherries
- 1 cup unsweetened coconut flakes (not finely shredded)
Instructions
- In a large bowl, add the honey, coconut flour, nut/seed butter and salt. Use a spoon to stir until well combined.
- On a large cutting board, coarsely chop the nuts. You can really use any combination of nuts or seeds if you like, just make sure that the total measure is 1 1/3 cups. Add the chopped nuts to the honey mixture.
- Chop the dried fruit and add to the honey mixture.
- Coarsely chop the coconut flakes and add to the honey mixture.
- Using a spoon, mix ingredients together making sure they are thoroughly combined.
- Place the bar mixture into the parchment-lined baking dish. Using the overlapping flaps of the parchment paper, fold down and evenly press the top of the bar mixture firmly to pack-in the ingredients. Doing this will help better hold the bar mixture together after baking. Peel back the parchments flaps from top of bars before putting into the oven. (Do not trim, as the flaps make it easier to remove the bars after baking.)
- Bake for 20 minutes, then remove from oven and allow to completely cool on stovetop for approximately one hour (or until bottom of baking dish is room temp).
- Place in fridge to continue cooling. (Do not freeze as this will make it impossible to cut the bars without them crumbling.) Once cold, remove dish from refrigerator. Using the parchment paper ends, lift the bars from the baking dish and place on a cutting board.
- Cut into 8 bars and individually wrap and store in the fridge or freezer. For best results, bars should be kept cold.

